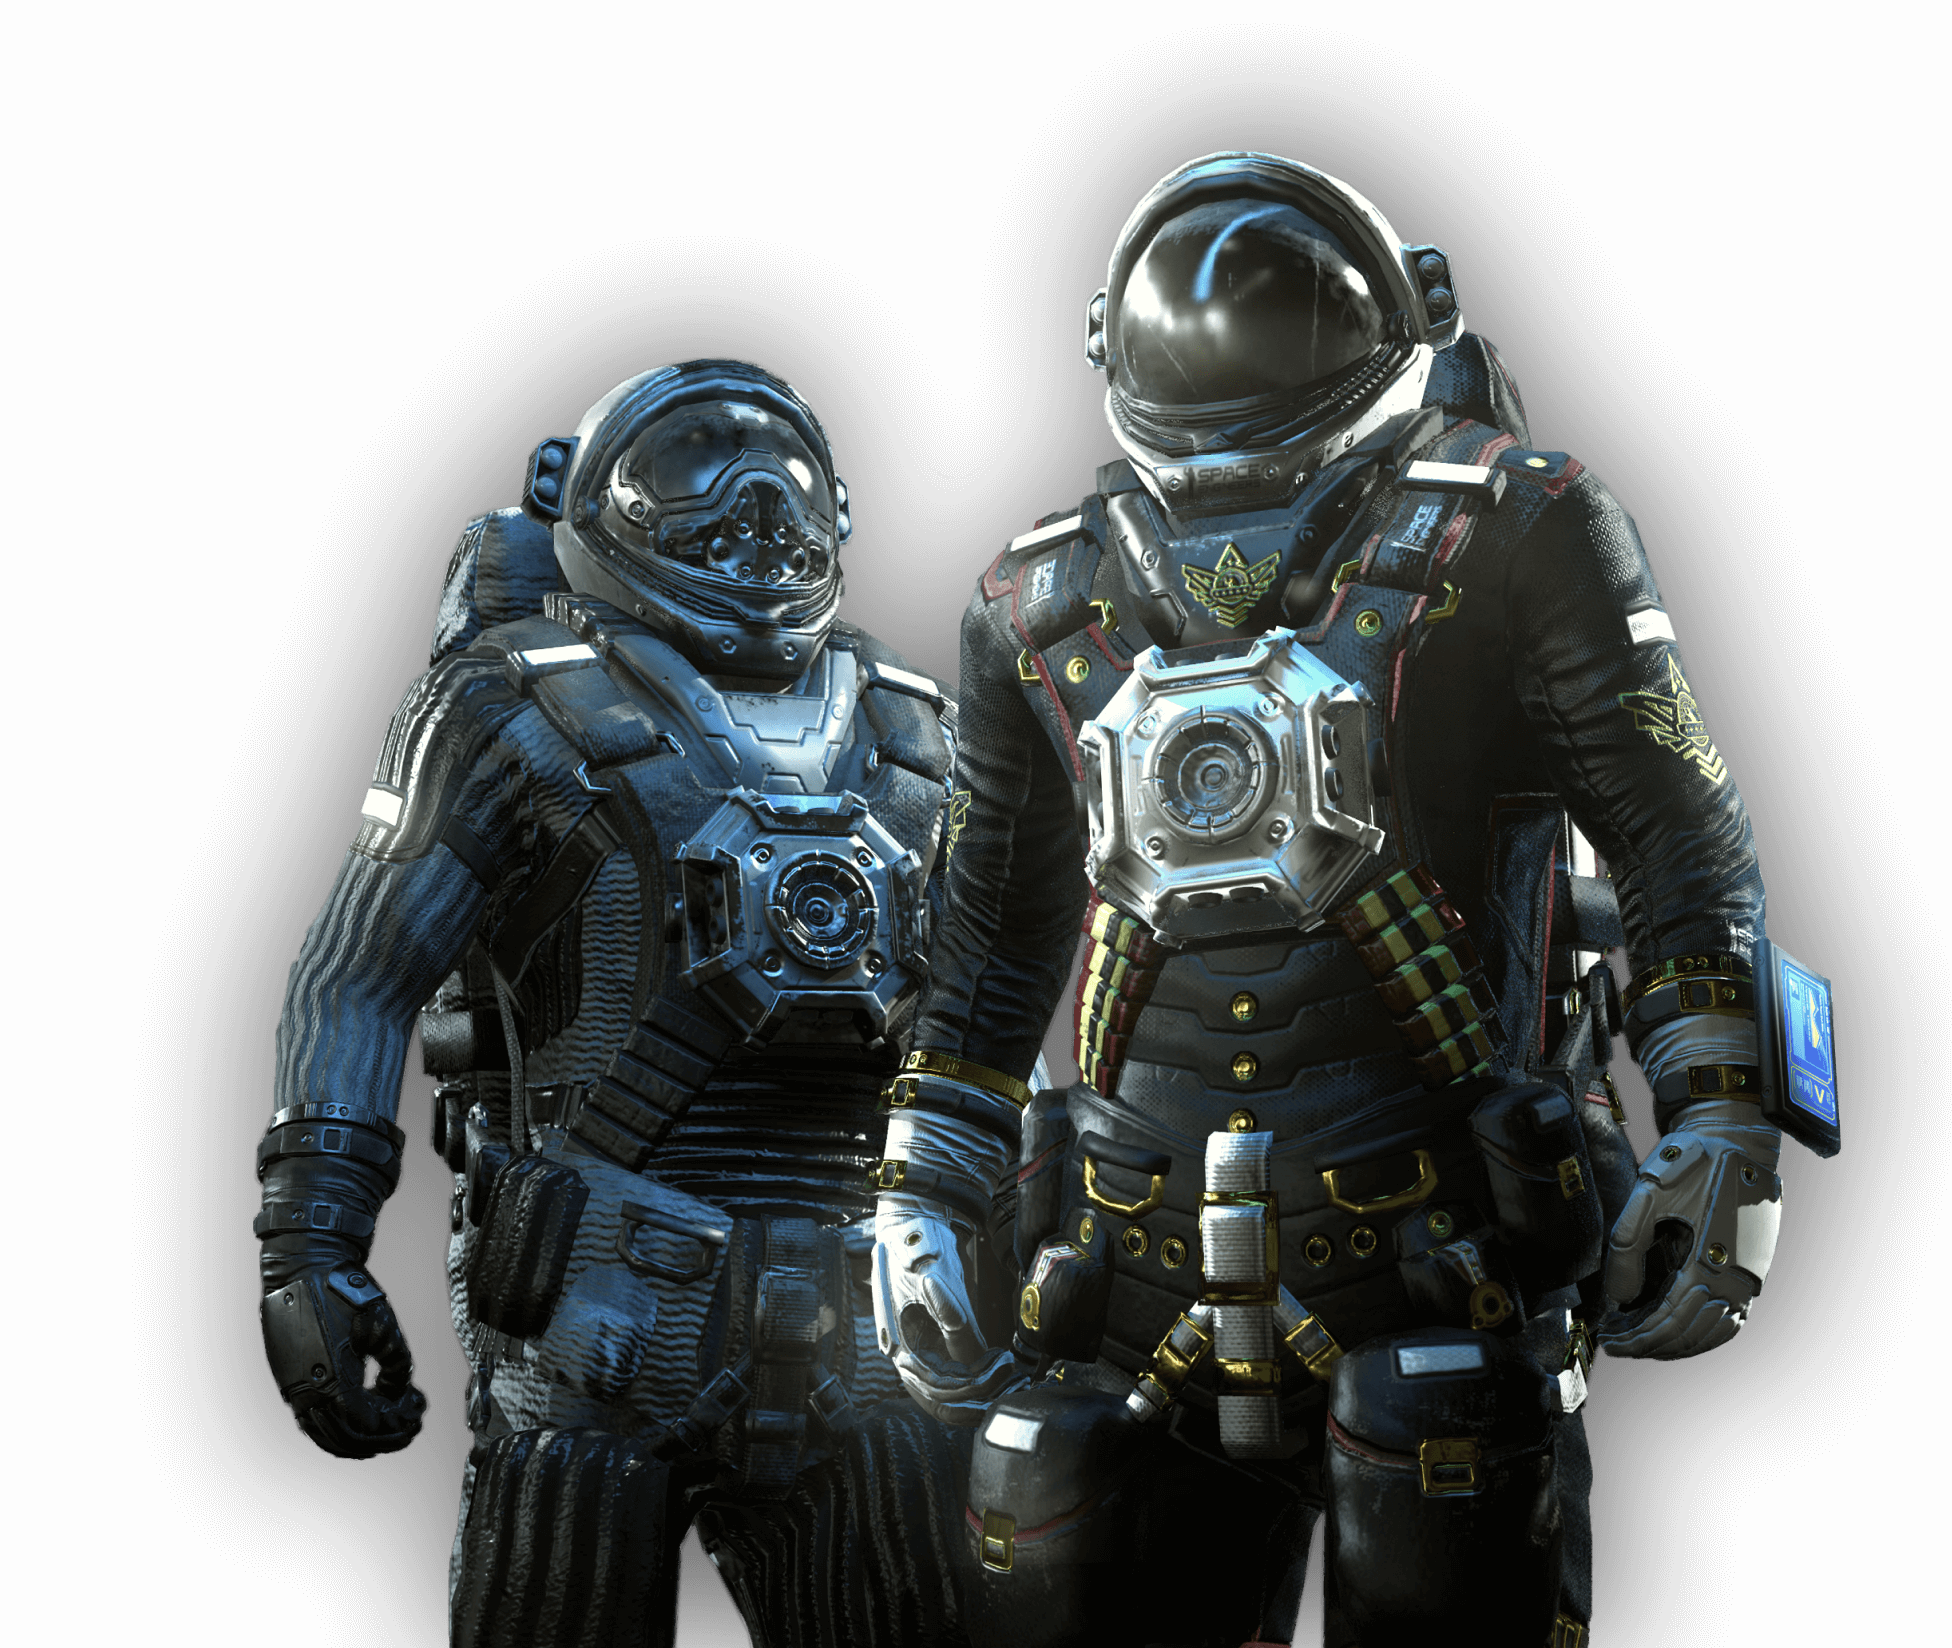
Combat Guide
“Warfare 2: Broadside expands and improves vehicle combat in Space Engineers.”
Warfare 2: Broadside brings a staggering amount of change to combat in Space Engineers in the form of QOL changes, as well as entirely new mechanics and systems. Here, we will cover those changes and provide an easy guide for future fighter pilots, battle-barge captains, and warship officers.
- The Target Reticle
- Target Lock
- Static Weapon – Target Lead Indicator
- Turrets
- Turret Targeting
- Max Effective Weapon Range
- Setup Action
- Subsystem Targeting
- The Decoy
- Target information
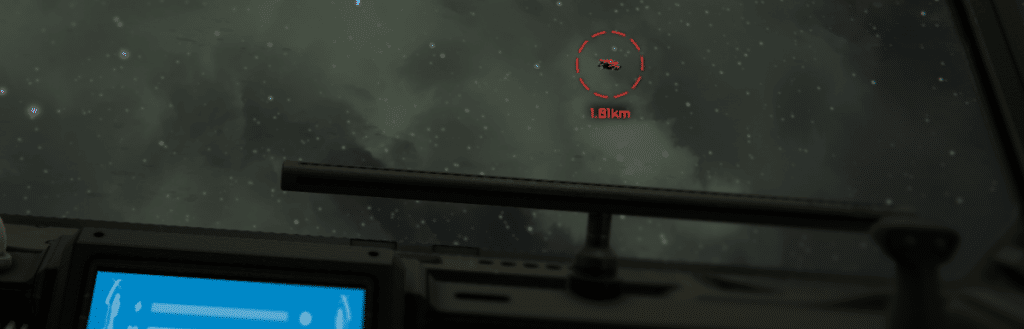
THE TARGET RETICLE
To get started, all you need is a powered grid with a weapon and a cockpit. Either a static weapon or turret will do. We recommend you explore static weapons and turrets separately as the behavior of each is unique. The Remote Control blocks do not currently benefit from the new targeting system and cannot be used for this guide.
The target reticle has a maximum range of 2.5 km or 2500 meters. It will not try to track targets outside this range, nor will it be able to lock on. Once you are within 2.5 km of a target, the reticle will automatically begin tracking the closest target, near the center of your screen.

Targets are identified by a color that corresponds to stance.
- White – Neutral
- Green – Friendly
- Red – Enemy


- The target reticle can be aimed by using either the first or third-person camera.

The targeting reticle is not active if you have a tool selected. Tools include the Welder, Grinder, and Drill. You can de-equip a ship tool (and enable the default reticle) by selecting the empty hand (Option 0) from your toolbar. Additionally, you can disable the reticle by disabling “target locking” in the cockpit menu, or through a toolbar action.

TARGET LOCK
Targets can be locked by simply aiming the target reticle at them and pressing either the right-mouse button or LT (Left Trigger) on your Xbox controller.

Something you may notice immediately is that target lock times vary depending on what you are targeting. This has to do with two variables.
- Size – Larger targets will target lock faster than smaller ones as a larger vessel would naturally have a stronger signature.
- Distance – Targets that are farther away will take a longer time to target lock as more distant targets have a weaker signature.
You will lose your target lock if your target leaves the 2.5 km targeting range, or if you lose line of sight to the target.
Target locking is not available if
- Your grid has no power
- A tool is equipped
- “Enable Target Locking” has been disabled for the cockpit
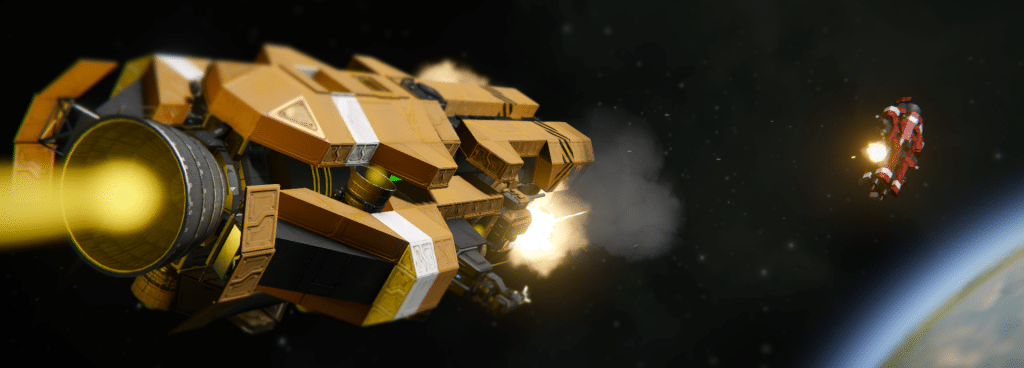
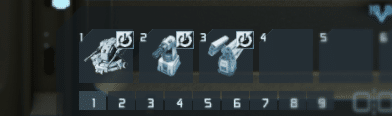
STATIC WEAPONS - TARGET LEAD INDICATOR
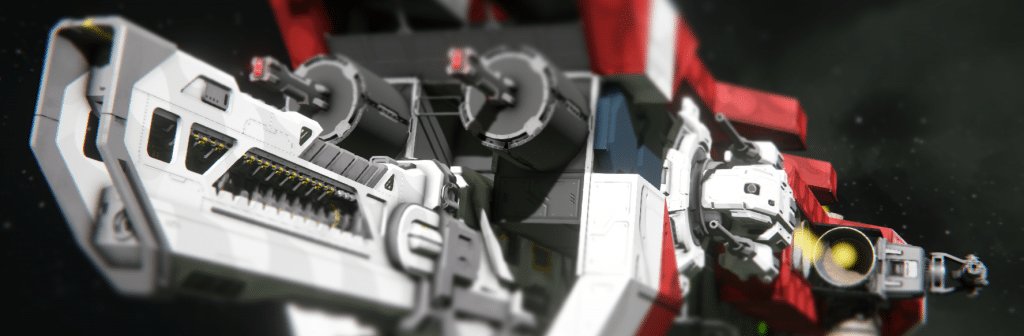
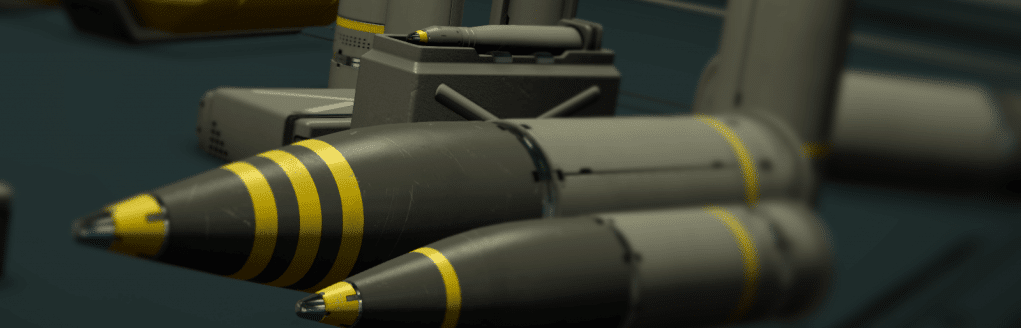
Static weapons include the devastating Railgun, Rocket Launcher, and Gatling gun.

Static weapons are (typically) manually aimed and manually fired, requiring some level of skill to use well. Locking your target, before opening fire on the enemy, provides the benefit of a “Target Lead Indicator”.
- Immediately following a target lock, the target lead indicator will appear for targets within weapon range.
- The target lead indicator is visible when a static weapon, like those mentioned above, has been equipped on the ship toolbar.
- The target lead indicator is visible when manually aiming a turret.
If your target leaves the effective range of your weapon, the Target Lead Indicator will be greyed out. Additionally, you will receive a warning that the weapon is out of range. More on maximum effective weapon range below.

When firing at long-range take advantage of the “Zoom” feature on cameras and turrets. This can greatly improve your accuracy!

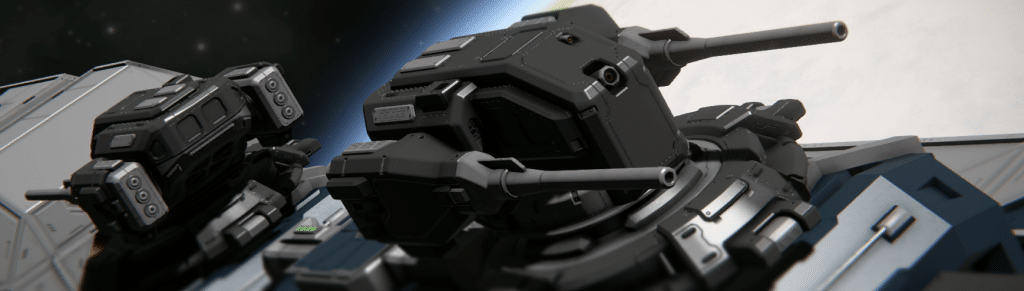
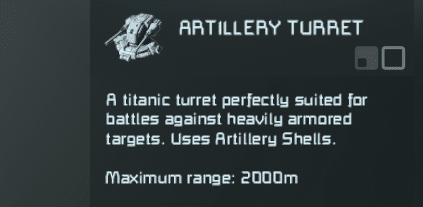
TURRETS
Turrets do not require a Target Lock to engage the enemy.
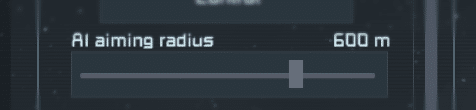
Turrets are able to select targets independently, up to a maximum range equal to the turret’s “AI aiming radius.” This range can be set manually, or left at the default.
Some weapons may have a greater effective range than the “AI aiming radius”. You can take advantage of this increased range, through target locking. More on maximum effective weapon range below.
TURRET TARGETING
Turrets are able to take advantage of a Target Lock, benefiting from both extended targeting range, and autonomous tracking and firing.
- Assigning a target is done through the “Focus Locked Target” action. This assigns your current target to the turret or turret group. When triggering this action, turrets will prioritize the target that is currently target locked by the player.
- You can release “Focus Target Lock” by releasing the target lock again.
- Turrets will continue to track and fire on targets up to the weapon’s maximum effective range

- Turrets will continue to track and engage a locked target until either it becomes invalid (due to range, damage, etc).
- Targets will also be removed if you leave the 2.5 km targeting range.
MAX EFFECTIVE WEAPON RANGE
A weapon’s maximum effective range is the total distance a single round, shell, or rocket will travel. When locking a target or engaging the enemy, keep these ranges in mind!
Maximum Effective Range is identical for both static and turret-mounted versions. For more information on individual maximum weapon ranges, check the in-game tooltips!
SETUP ACTION
Cockpits now have the ability to trigger actions based on whether they are the target of a lock-on.
- When a cockpit detects a target lock on itself it can trigger an action.
- When a cockpit is no longer under target lock, it can trigger an action.

Get your countermeasures and alarms ready!
SUBSYSTEM TARGETING
- You now have the ability to direct what the AI will prioritize when firing on an enemy target. Subsystem targeting can be utilized by turrets that are firing on either a locked target or a target that has been selected by the AI targeting system.
Subsystem targeting can be changed either manually or through toolbar actions. Subsystem targeting designations can be changed “on the fly” and can be modified either individually or for entire groups.
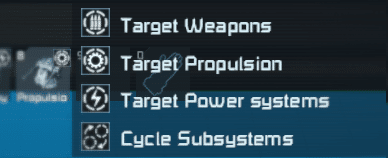
Possible Subsystem targets
- Power – Reactor, H2 Engine, Battery, Solar Panel, Wind Turbine
- Weapons – Any Static Weapon, Any Turret, Warheads
- Propulsion – Any Thruster, Gyroscope, Jump Drive
- Default *
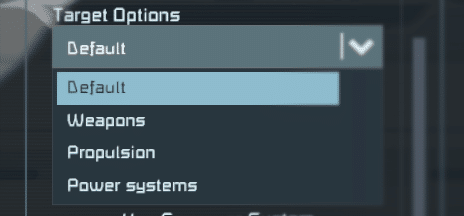
* The default targeting behavior is to target the closest “visible” block from any of the available subsystems (Power, Weapons, Propulsion). If no Subsystem Targeting is selected, turrets will always default to this targeting behavior.
THE DECOY
Decoy behavior has evolved to better reflect the new Warfare 2 combat system.
Decoys now have a “signature”, or priority when being targeted. While much of this behavior is “under the hood” it can be valuable to know how a Decoy functions so that you can better plan deployment.
Decoys are always a “high priority target”. This priority is approximately 10x the value of a single subsystem such as a thruster.
- Decoys decrease in priority with distance.
- Decoys decrease in priority with block count.
With this in mind, you can follow some simple steps to get the most out of your Decoys.
- Decoys should be close to the object they are meant to protect. If you are trying to protect a large area or a large number of subsystems, then more Decoys should be deployed for this purpose.
Don’t forget your decoy. The Decoy is a natural lightning rod and can help defend your installations and ships against lightning strikes!

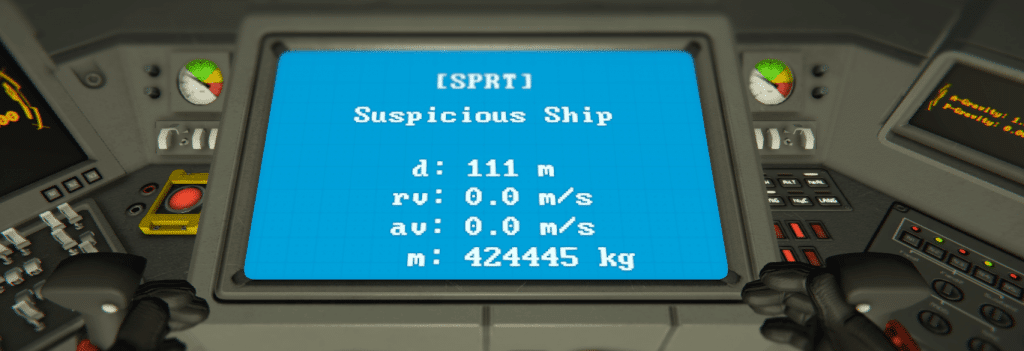
TARGET INFORMATION
Targeting Info Script – You will find a new script available for all displays. This script provides basic information about your locked target.
- [Faction] Owner Name
- Grid Name
- D: Distance
- RV: Relative Velocity
- AV: Approach Velocity
- M: Mass in Kilograms
Powered by your "Need to Create"
Become a Space Engineer today!
Start Creating